You can customize the Vista Sidebar in various ways. You can move it, resize it, or skin it. I'm going to show you how to ditch the sidebar altogether. For those who want to keep and/or modify the sidebar, the program you want is Windows Sidebar Styler.
Breaking Out Of The Sidebar
We're still going to use our gadgets, just not the sidebar. This allows us to place our gadgets anywhere on the desktop.
Step 1 - Move your gadgets out of the sidebar.
Tip - In addition to the method above you can right-click on the gadget and choose Detach from sidebar. Once detached you can right-click on the gadget and choose Attach to sidebar to put it back.
Step 2 - Once all your gadgets are out of the sidebar you can close the sidebar.
You can still access the sidebar menu by right-clicking on the sidebar icon in the system tray.
Modifying Gadgets
This is a little advanced so please read through this section before you decide to do this.
Most gadgets are pretty simple objects. Basically they are just mini web pages running on your desktop. What I choose to do was to make most of my gadgets look the same. In my scheme I choose to make them all black and use the frames from my themes skin. In the case of the System Info gadget I just choose to change the icons and progress bar colors.
Step 1 - Install your gadgets.
Step 2 - Back up your settings.
Your gadgets are located in the following folder: C:\Users\YOUR_USER_NAME\AppData\Local\Microsoft\Windows Sidebar\Gadgets . Backup this folder somewhere, call the backup folder something like gadgets_before_mods. Now you can open the gadgets folder and see what is inside.
Step 3 - Modifying the background is easy. Find the background image in that folder > Check the size of the image > Create your own image using the same size, file type, and file name. > Replace the image in the gadgets folder with the one you created.
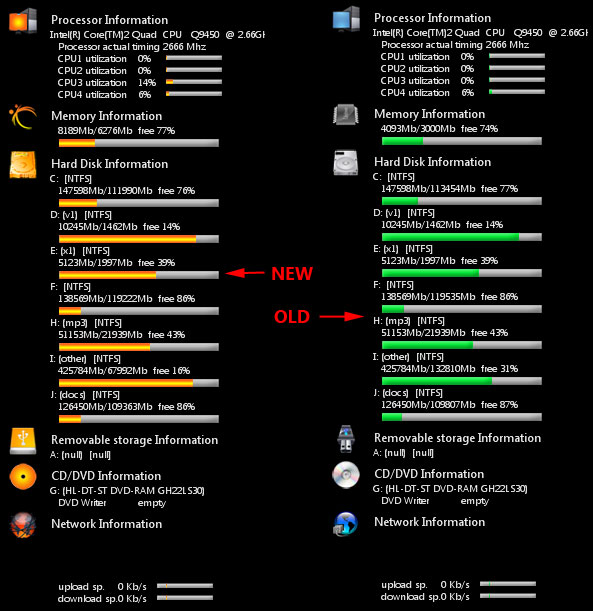
Step 4 (optional) - Change the icons (etc.) in the gadget. For the gadgets that have icons and progress bars you can easily change them to anything. You do not have to do anything but change the icons / bars, no coding required.
- Go to that gadgets folder and find the icons you wish to change.
-Find replacement icons.
-Resize the icons to the exact same size as the icon you wish to replace.
-Rename the new icon to the exact same name as the one you wish to replace. Replace the old icon with the new one (copy /paste, "yes" to replace).
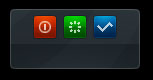
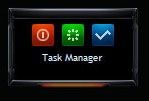
Before and After changing icons / bars:
Step 5 (optional) - Adding frames. This is a little trickier. Most gadgets are pretty tightly displayed. In other words the contents are close to the edges of the gadget. This means we need to make the background image bigger AND in most case modify the gadgets html or css file.
Examples:
For the SystemControl gadget I was able to keep the image size the same but I had to modify the css file to move the contents.
Before:
After:
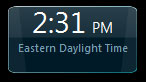
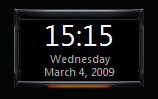
For the NeptuneDigitalClock gadget I had to make the background image larger so that the contents would fit inside the frame and modify the clock.html file to move the contents.
Before:
After:
Article Index
Article comments go in the Blog post here: Customizing Windows Vista
Tweaking Windows 7
Installing Windows 7
TweakHound's Super XP Tweaking Guide - SP3 Final
Tweaking Windows Vista
The Right Way To Install Windows XP
Installing Windows Vista
The
Freeware XP Machine
The Vista
Freeware Machine
Windows XP
Backup Strategies For Home Users
Windows Vista Backup Strategies For Home Users
Installing
Suse Linux 10.3
How To Samba With openSUSE 11.2 and Windows
I use True Image 2011 for all my OS backups and Disk Director 11.0 for all my partitioning requirements.
TweakHound readers often get a discount off Acronis Products. Check the links for more info.