Windows Backup And Recovery Options
Folks who’ve been around here for a while know I’m a freak about backups. Having good backups means recovering from viruses, malware, and hardware failure is not only possible but quick.
You should always use more than one backup method in case one fails (redundancy). My preferred method of backup is using a system image via Acronis True Image. See my article Backup Using Acronis True Image Home for how I do it. I also take advantage of Windows built-in backup methods. Since some folks will ask here are my recommended backup plans:
1 – For non-mission critical systems:
Acronis True Image (offline, at least monthly, see link above for how I do it)
+
Make a System Image for Refresh
+
File History (plus a second backup method for libraries run monthly)
2 – For mission critical systems
Acronis True Image (offline, at least bi-weekly, see link above for how I do it)
+
Make a System Image for Refresh
+
System Restore
+
File History (plus a second backup method for libraries run bi-weekly or shorter)
Before we continue, it is critical that you have a recovery disk. Having a backup does no good if you can’t use it. For Windows 8 you can use either the install DVD or you can create recovery media. See my article Create Windows 8 Recovery Media.
Getting your Libraries off your OS drive / partition is critical. See the Move Your Libraries section of this article.
*Note – There is a good chance that your computer’s manufacturer has completely screwed up the Windows 8 built-in backup methods just as they did with previous Windows versions. If this is the case then this section may or may not be of use to you. It is one of the reasons I always clean install an OS myself.
**There are many methods to backup computers and data. See: Backup Article Greatest Hits – Vol. 1
See all your recovery options. Type recovery in the Search charm:
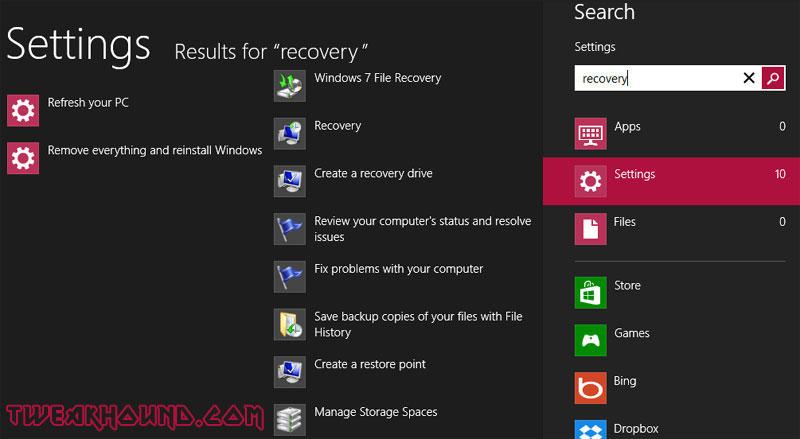
Windows 8 has several backup / restore methods:
1 – Refresh.
2 – Reset.
3 – System Restore.
4 – Windows 7 Backup
5 – File History
Refresh and Reset
Refresh and Reset are new to Windows 8 are IMHO are Windows 8’s killer features. For Microsoft’s guide on the topic see: How to restore, refresh, or reset your PC (also available in the Windows 8 help file). Explanation on how it works: MSDN Blogs, Building Windows 8 – Refresh and reset your PC
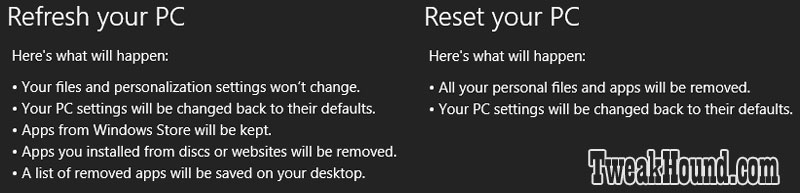
Basically Reset returns your computer to its original state.
Refresh is a different. In its default state it will basically do a reset. But if you make a backup then it will reset your computer to the state of that backup.
By default, desktop apps are removed when you refresh a Windows 8-based computer, unless you create a custom image. After you create a custom system image, the image is used as the refresh image. This means that any existing image or OEM restore image is not used when you refresh your computer. We recommend that only experienced Windows 8 users who understand the consequences of this behavior create a custom system image.
How to create a system image to refresh your Windows 8 PC
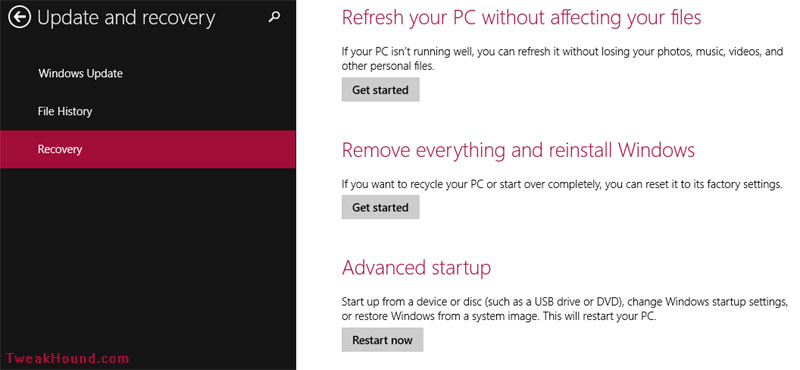
Quick way to get there the Metro way: Settings charm > Change PC settings > Update and recovery > Recovery > choose either Refresh your PC without affecting your files OR Remove everything and reinstall Windows.
System Restore
For those familiar with it, System Restore in Windows 8 works like it did in Windows 7. From Microsoft:
System Restore uses restore points to return your system files and settings to an earlier point in time without affecting personal files…System Restore affects Windows system files, programs, and registry settings. It can also make changes to scripts, batch files, and other types of executable files created under any user account on your computer. System Restore does not affect personal files, such as e-mail, documents, or photos, so it cannot help you restore a deleted file…Restore points are created automatically every day, and just before significant system events, such as the installation of a program or device driver. You can also create a restore point manually.
Using System Restore
Press the Windows + R keys > type systempropertiesprotection.exe and hit Enter.
Or
Enter systempropertiesprotection.exe in the search box via the Search charm.
Or
Go to Settings > Control Panel > Recovery > Configure System Restore.
Next click the System Restore… button
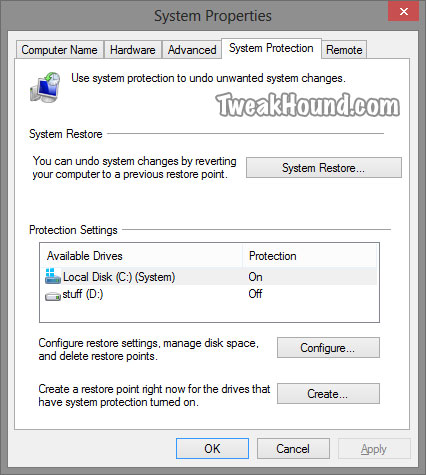
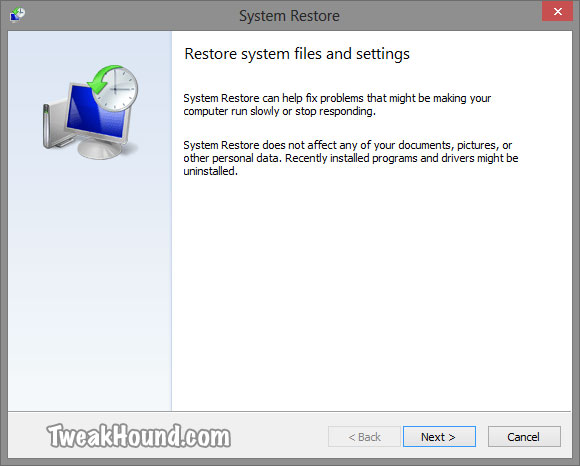
Click Next.
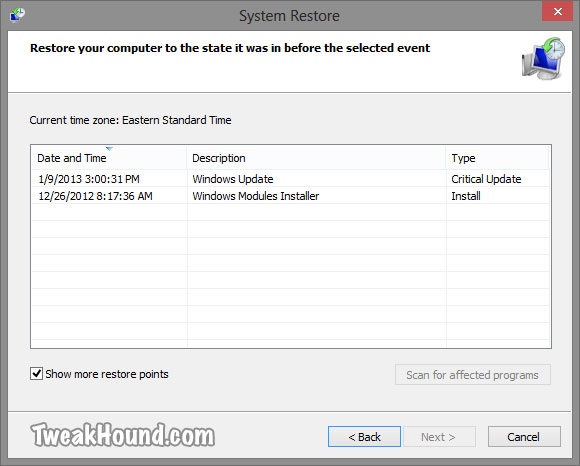
The most recent restore point will be shown. Check the box next to Show more restore points to go further back. Highlight on restore point of your choice and click Next.
Click Finish to start restore, or …
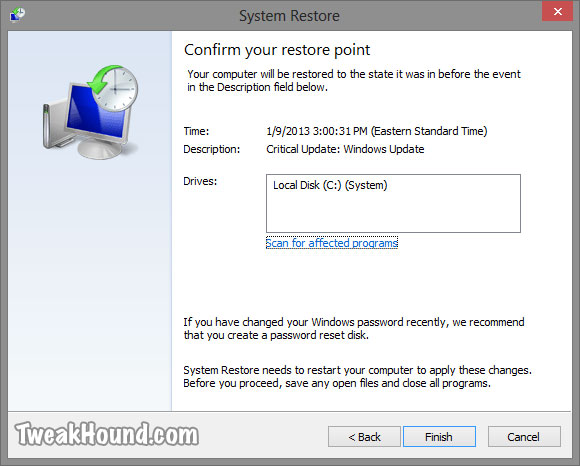
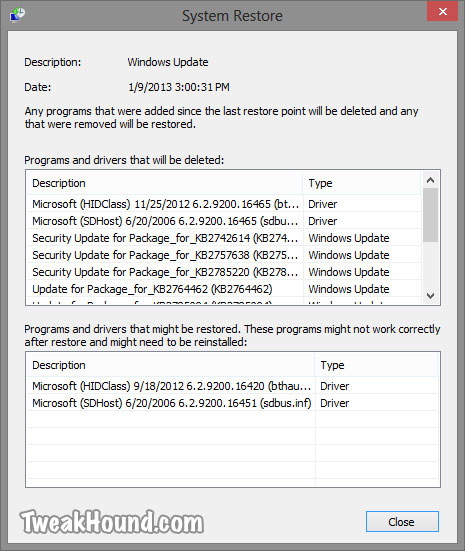
Click Scan for affected programs to see, um… affected programs!
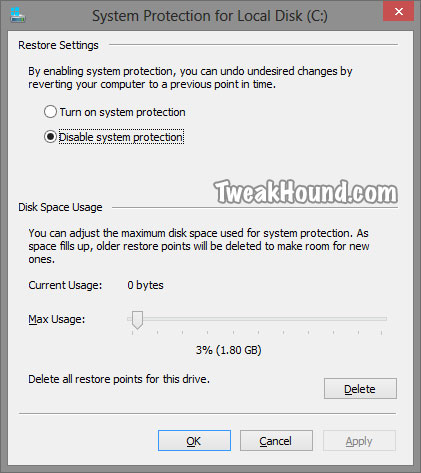
Disable System Restore
I’ve purposely included several pictures in this System Restore section to show that this program is actually useful. This is in the hope that I can persuade those of you who do not keep active backups not to disable this.
Disabling System Restore does have a few advantages including speeding up Windows Updates and saving disk space (though you can control that). Since I use Acronis True Image all the time I do not use System Restore.
For those who do want to disable System Restore
Press the Windows + R keys > type systempropertiesprotection.exe and hit Enter.
To disable System Restore click the Configure… button.
In the resulting window click the circle next to Disable system protection and click Apply.
Although the above step is supposed to clear all restore points, it doesn’t hurt to click the Delete button.
Accessing Windows Recovery Settings Offline
If you can’t boot into Windows you can use the above tools by booting from your Windows 8 DVD or Windows 8 Recovery Media (see my article Create Windows 8 Recovery Media ).
If booting from a recovery disk choose your keyboard.
If booting from the Windows 8 DVD choose Repair your computer.
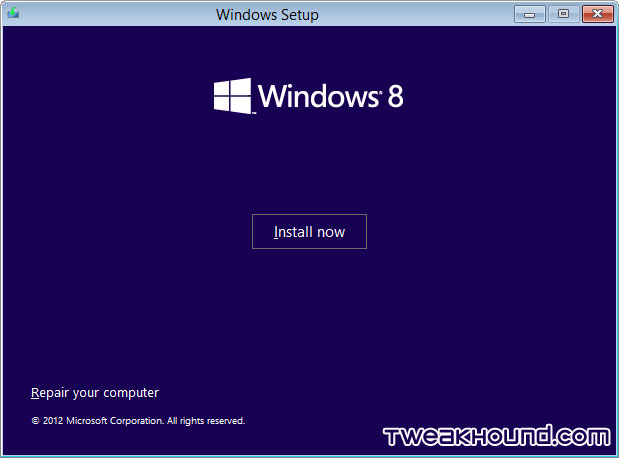
Click Troubleshoot.
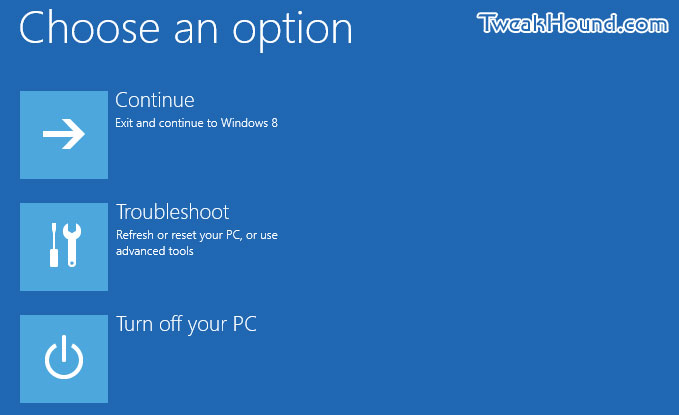
Click Refresh, Reset, or Advanced options
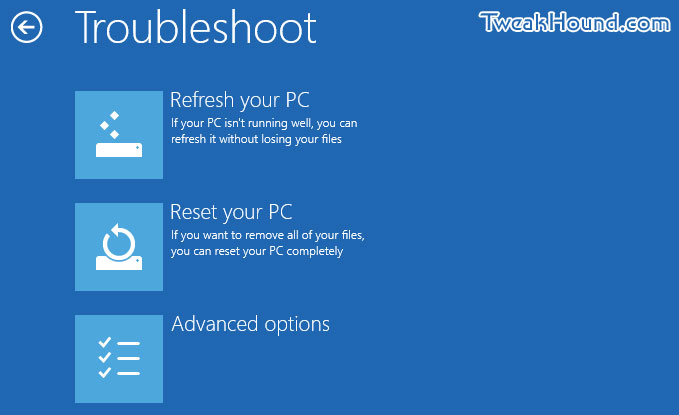
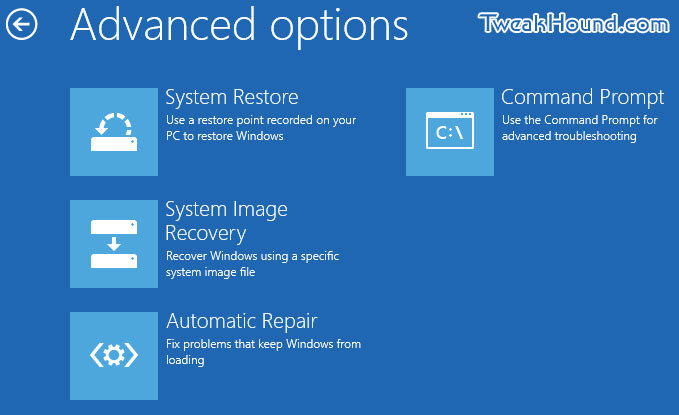
Windows 7 Backup
In Windows 8.1 you can backup files just like you could in Windows 7. This is a brief overview. Please see my article: Guide To Windows 8.1 System Image Backup
Launch an elevated command prompt.
From the default Start Button, right-click and choose Command Prompt (Admin).
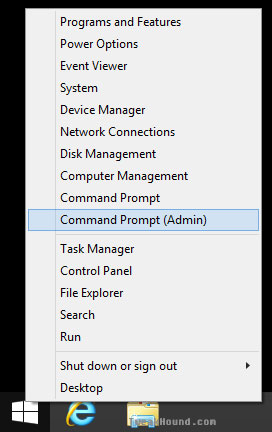
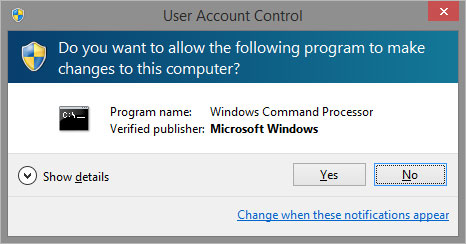
If you have UAC enabled then answer Yes to the pop-up.
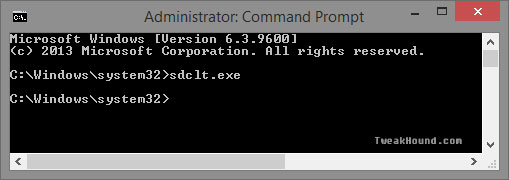
Type sdclt.exe and the program will launch.
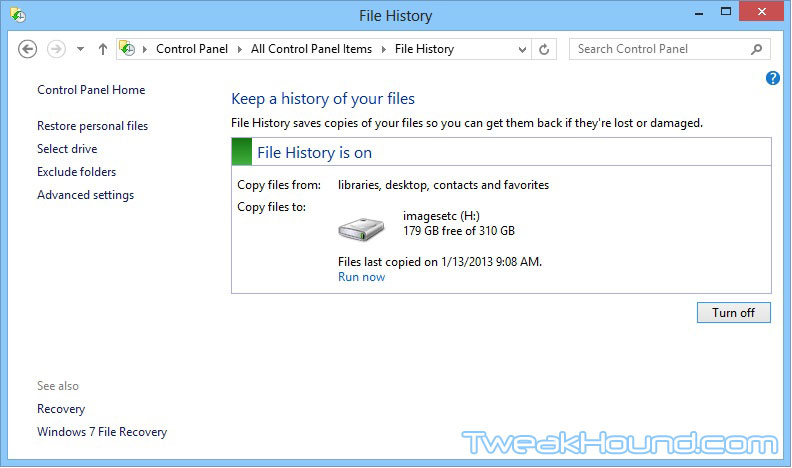
File History
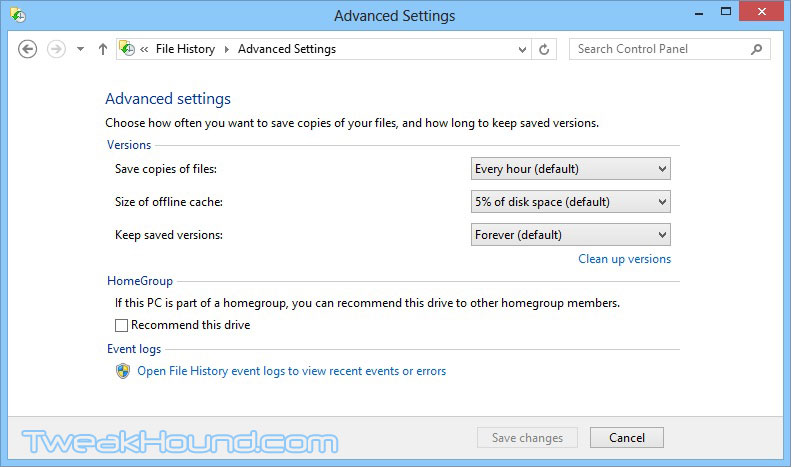
This is an awesome feature. Basically all your important stuff backed up constantly. See Microsoft’s, How to use File History (guide with video). See also: What if something goes wrong in File History? One thing though. If you are on a single drive system you’ll need to configure a network location or an external drive for backup.